
The Master-Class Vibraphone. Making a Better Instrument!
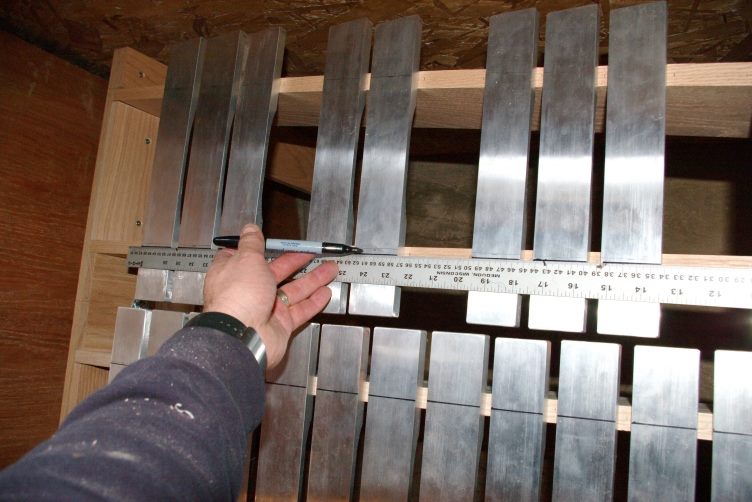
I've been tinkering with instrument design for as long as I can remember — tweaking, improving, rebuilding. By 2015 I'd already built quite a few instruments from scratch, and that process had taught me a lot about what actually matters and what's just convention. So when I decided to build myself a proper personal vibraphone that year, it wasn't really a leap. It was just the next logical step in a long ongoing experiment. I'd already built some vibraphones in the past - including the PV Lite Vibes - but I wanted this one to be different... Best quality in every way - no regrets... and I finally had the knowledge and resources to do it.
The brief I set myself was straightforward: get everything right. I had a long mental list of things that had always nagged at me — a damper bar with silent, smooth pull and zero flex or deformation under use; completely even damping across the full range with no dead spots or uneven transition; a frame stiff enough that pedaling doesn't introduce any flex or energy loss; and of course it had to be beautiful!... This was not to be a lightweight model, I wanted a furniture quality all-oak frame.
On all mallet instruments, everything starts with the bars, and I wanted mine to be the best they could be - no compromise on material or graduations - exacting dimensions for ideal arch shapes - I wanted a truly beautiful tone with maximum responsiveness and sustain. I also wanted to add just one more note to the bottom of the standard range - a low E so I could play more effectively with guitarists! And these too had to be amazing to look at!
The Long Road to a Mirror Finish

The first piece of the puzzle was sourcing the right aluminium. You can use just about any aluminium for vibes bars and they all work - but I wanted the best. I'd always loved the tone of my Musser Century vibes - one of the older ones. Those instruments back in the day were marketed as using "Duralumin" which was a particular 2024 alloy with T3 temper. Eventually I found a suitable high-copper 2024 T351 aluminium that fit the requirement, and got to work!
With the frame built just far enough to map out the bar positions and drill the string holes, I started what turned out to be one of the most painstaking parts of the whole project: hand sanding every single bar. This wasn't a quick job. Each bar went through 800 grit, then 1000, then 2000, then a buffer, then hand polish with Autosol, then a final clean with WD-40. Over and over. Every bar. The goal was to get them to a near-mirror surface before anodizing — because the anodizing process doesn't hide surface imperfections, it preserves them forever.
I finished the last bar just a couple of days before flying out on a long performance tour. The timing was brutal — but I managed to get the whole set dropped off at RMD Engineering here in Saskatoon to be anodized before I left. The colour brief: a rich, deep green. I had a very specific shade in my head and I was quietly terrified the result would be something flat and disappointing.
"Took me a long time to get these bars super clean and polished — but here they are all done — like a mirror! Actually they look blue but that is just because it is virtually impossible to photograph a mirror in the sunlight!"
The Wait — and the Result
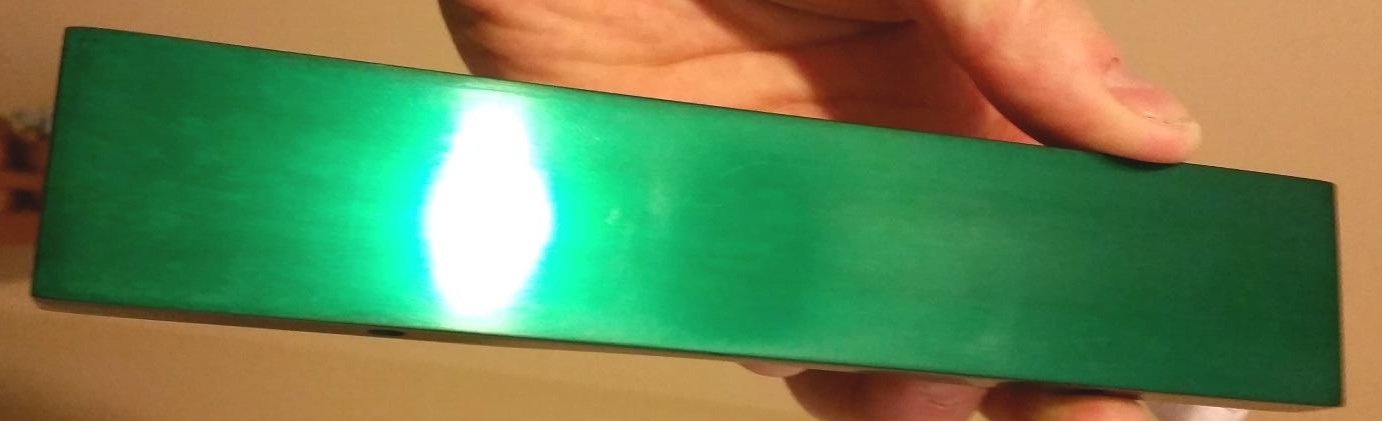
I came back from tour, and then waited some more. Getting that particular dye to take properly turned out to be a challenge for the anodizers — it took considerably longer than expected. But just before New Year's, the call came. When I unwrapped the first bar, I actually just stood there for a moment. The green was exactly right — deep, shiny, almost jewel-like. Rich without being garish. It had the kind of colour depth that changes slightly depending on the angle of the light.
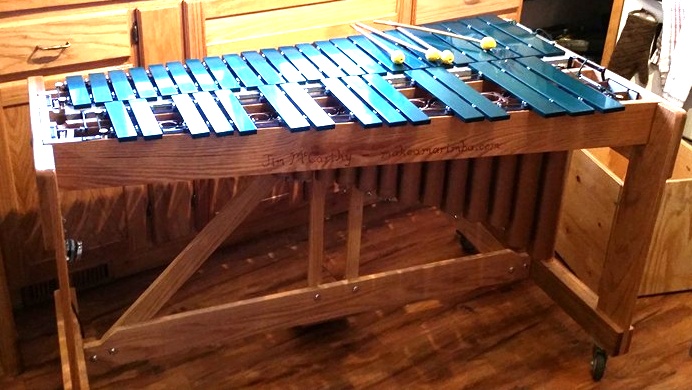
There was a slight delay getting the instrument fully assembled — I was also in the middle of a kitchen renovation at the time, which meant the workshop was doing double duty. Both projects were tantalizingly close to finished simultaneously, which made for an interesting few weeks. But the bars were in, the frame was done, and the green anodizing on those bars looked even better mounted on the instrument than it had in my hand.
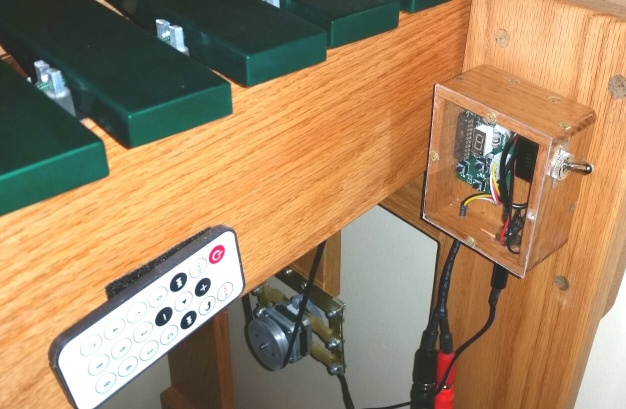
Just some final damper bar wiring and adjustment to go. After everything — the sourcing, the sanding, the waiting, the touring in between — the instrument was almost ready to play.
So the pro vibraphone project definitely took a break for a while over Christmas and New Years... but the green anodizing on the bars looks incredible!
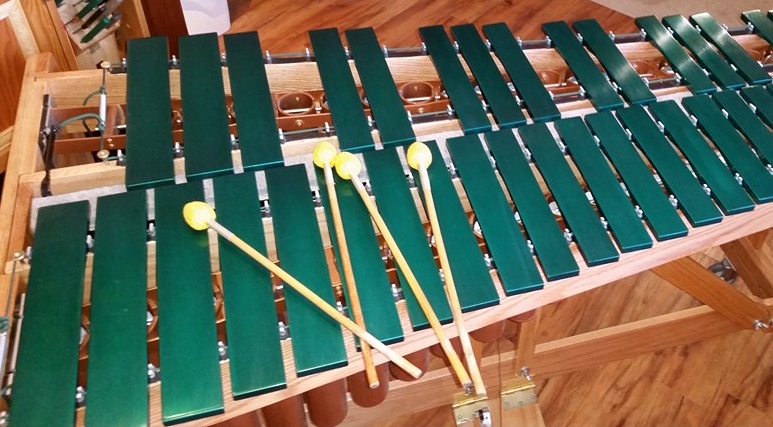
This was the start of something much bigger than just a new instrument. Building the Master-Class Vibraphone forced me to think hard about every single component — including the motor system. And once you've built an instrument to this standard, you can't put a mediocre motor on it. But that's a story for the next post.